How to create blog posts
How to find the blog section in Sharefox admin
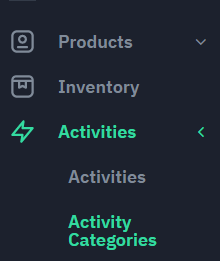
Creating blogs in Sharefox is easy. Blogs are created in the admin under Activities in your left side panel.
As a standard for a new shop, you will find two examples of articles. You can delete or change these.
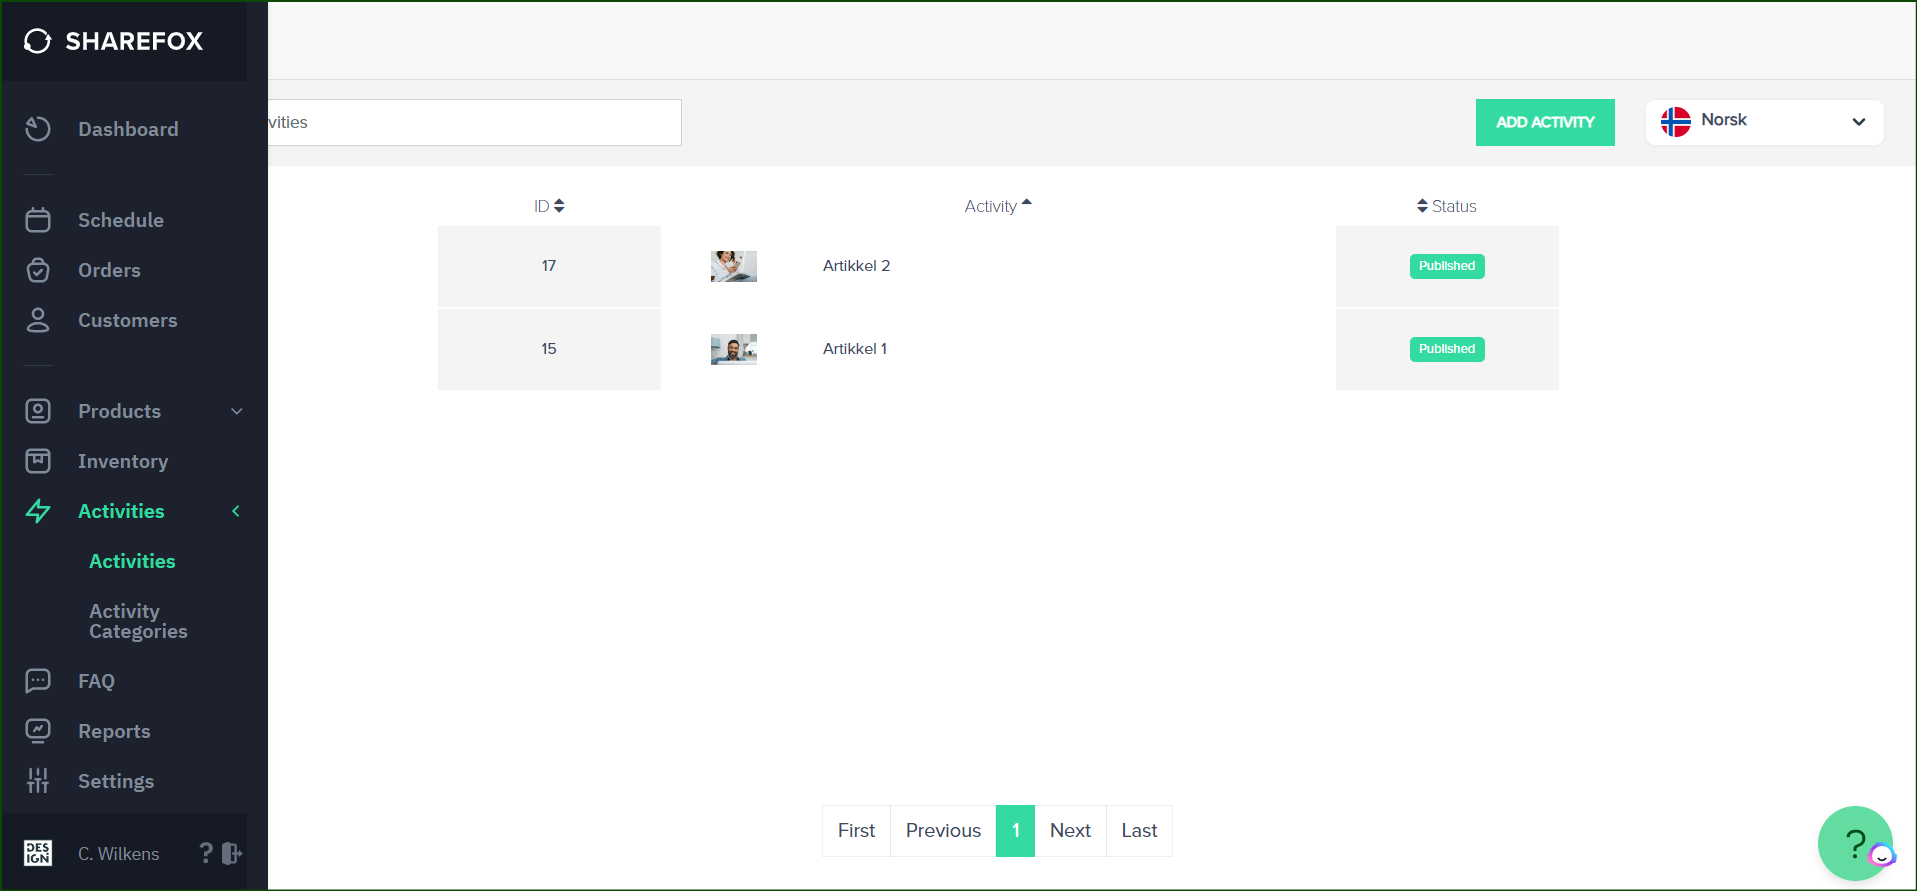
To have the blog section show on your front page, go to Settings -> Template, and make sure that the blog section is activated.
How to create a blog post
IF THE BLOGS DON’T SHOW: In order for the blogs to be visible on your webshop, you need to create a blog category first. You do this in Activity Categories. If you are writing multiple blogs under the same subject, you just need to create one category. As default we have two Activity Categories preset.
Also, make sure that you have turned on the blog section under Settings -> Template
Example:
If you want to write about car rental. Create a category called ”Car Rentals”, and start publishing your blogs about that subject.
If you like to write about something other than ”Car Rentals”, like ”self service”, just create a new category called ”Self Service”.
When done creating the category that you want, here is how to start creating a blog post.
Contents
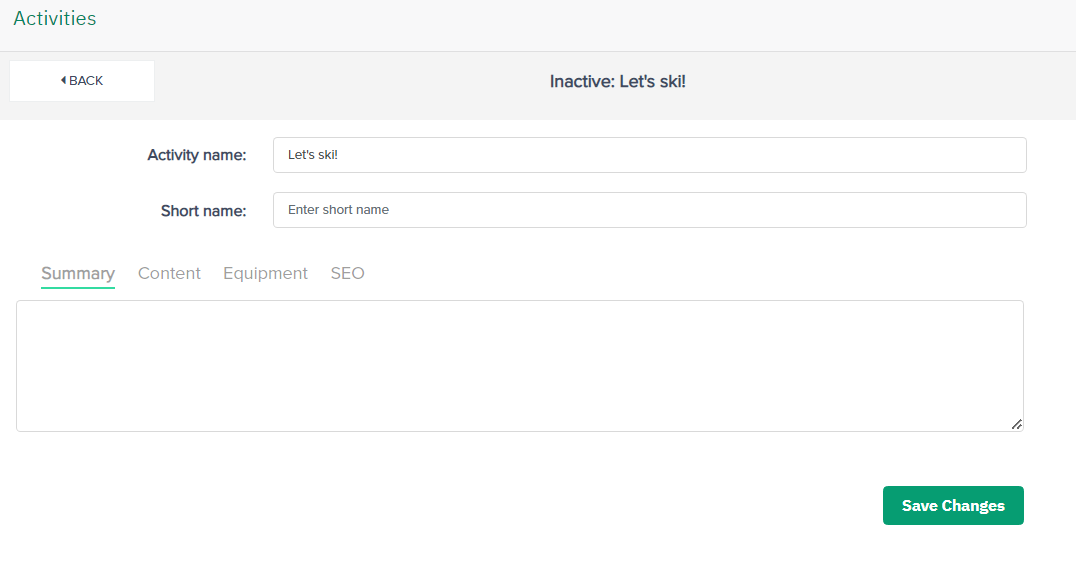
1. Click on “Add activity” and insert the title
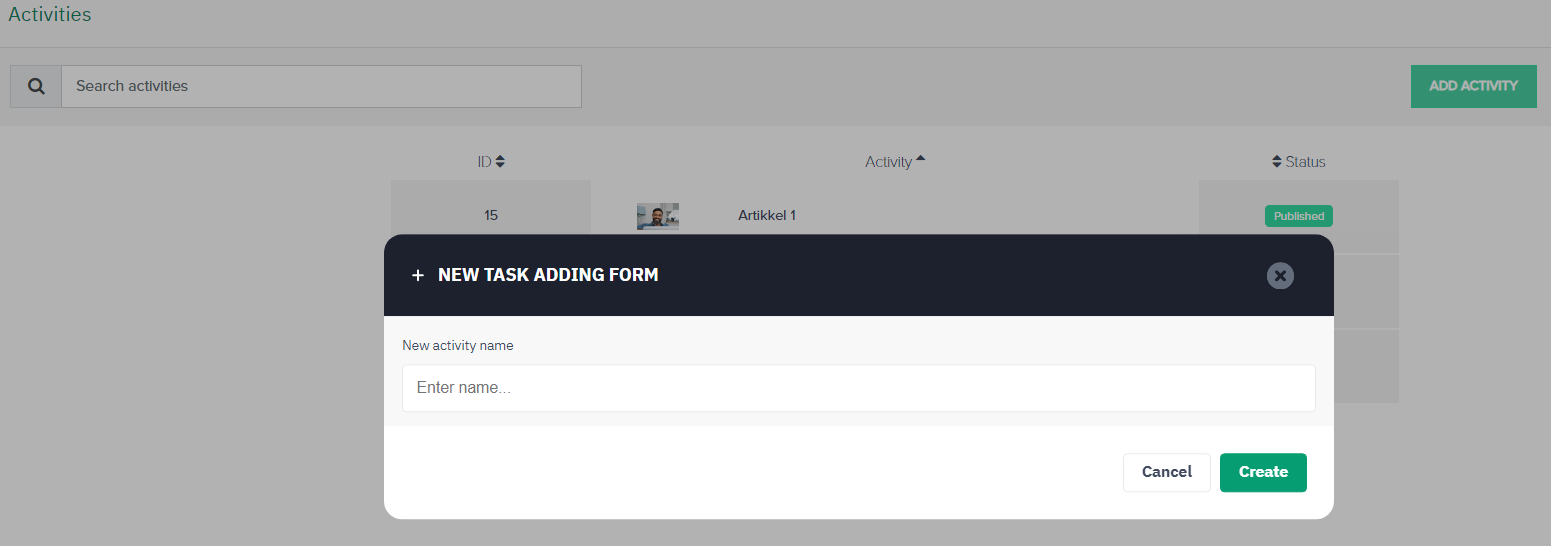
2. Fill in the information needed.
- Short name: This is the name of the blog that will be shown in filter on the Explore Product page
- Summary: This is a short text for the front page. Explain what the blog is about.
- Content: Here you write the main text of the blog.
- Equipment: Insert additional tips or information for you reader.
- SEO: This is a very important field to fill out. This makes your blog searchable on search engines like Google and Bing. Make sure to use keywords and sentences that are related to your industry, geographical location, rental and your product. Just think ” How do my customers search for my products on Google?” Learn more about SEO here:
Remember to “Save changes” to save your content!
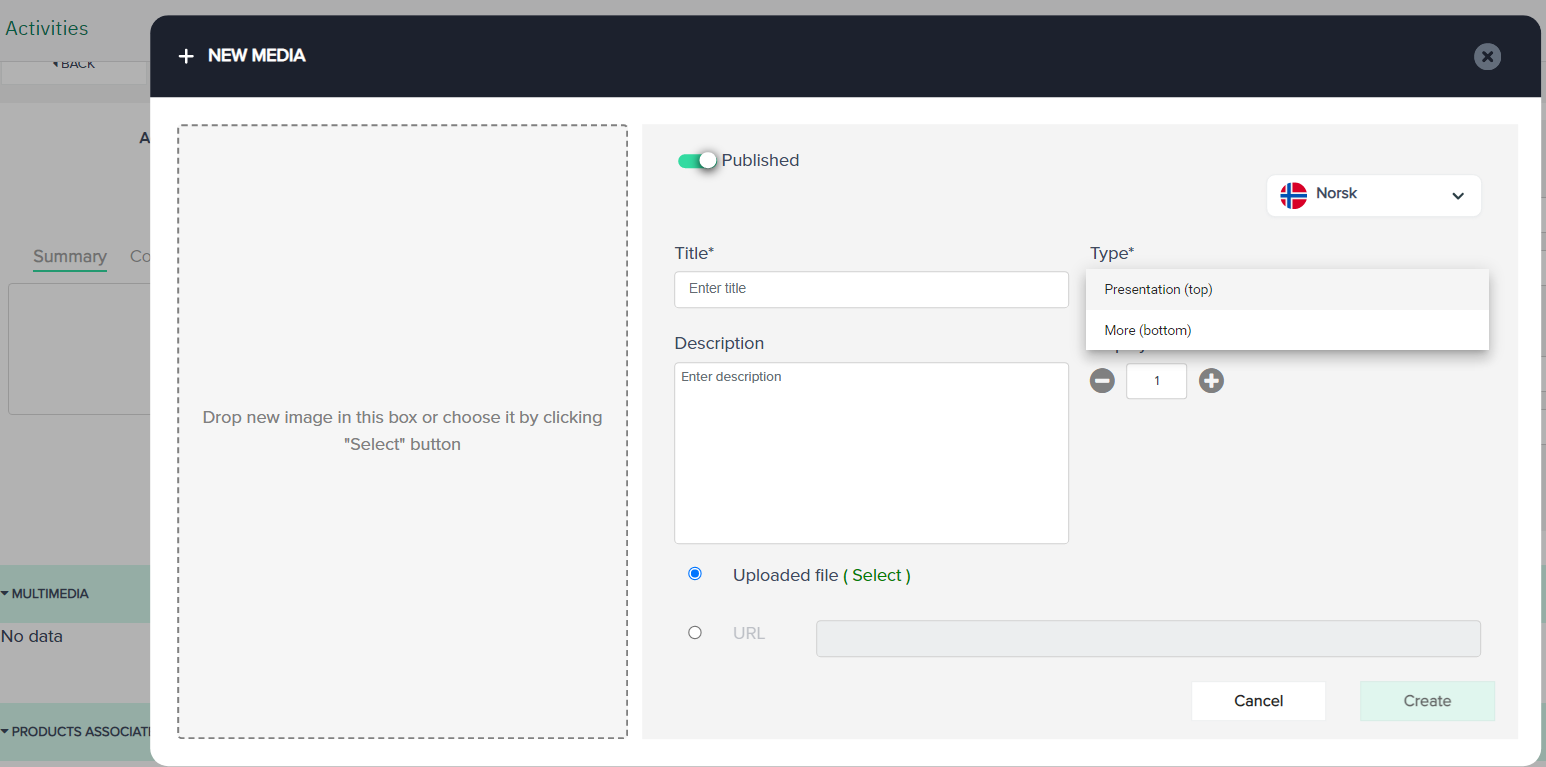
3. Media
a. Add a title and description: Use a title and description that is relevant and searchable for the customer.
b. Type: Choose if you want to image to be shown in top or bottom of the blog article
c. Display order: Decide if this picture will be shown as first picture, second, etc
d. Choose if you want to upload a file or insert an url.
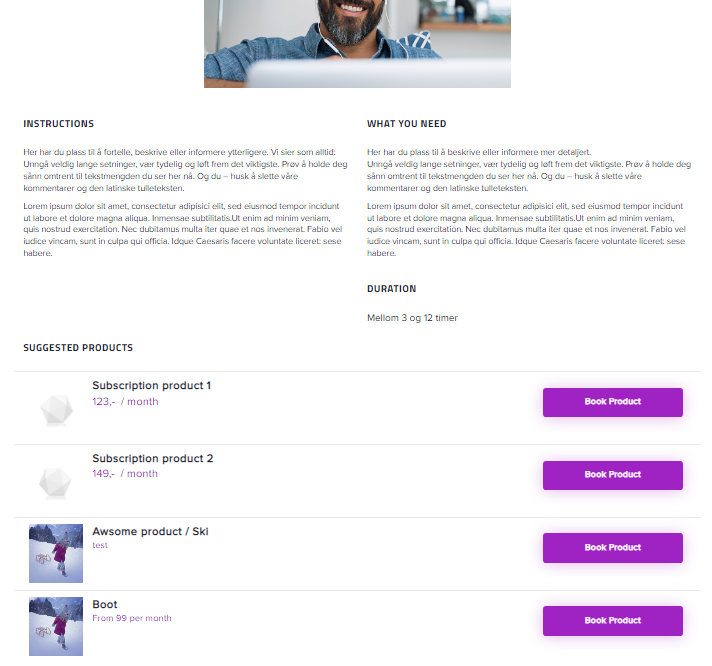
4. Product associated/Suggested products
You can insert related products to your blog. This is a clever shortcut to your products.

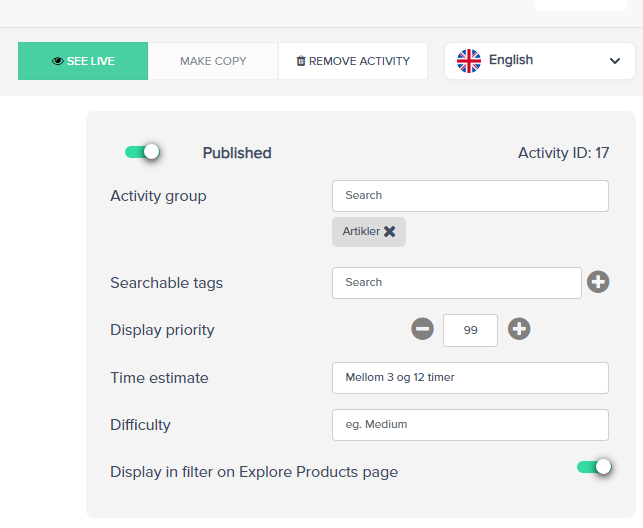
5. The Dashboard explained
See live: See the preview, if inactive, see live if published.
Make copy: Copy the blogpost.
Remove activity: Delete the blog post.
(Optional language: Remember to select the flag and add the related language content)
Inactive or published: if the blog is inactive is disabled so it will not be shown.
Activity group: Is the activity category that the blog belongs to. Please note that if you don’t select a category the blog will not be shown.
Searchable tags: Add a tag that help to locate the article based on keywords that you chose.
Display Priority: Here you can choose the order of your articles.
Time estimate: Shows the reader how long the blog takes to read.
Difficulty: Complexity of the subject that you wrote about.
Display in filter on Explore Product page: If enabled the blog article will be fine in the Explore product page.
How to create a blog category
Contents
1. Go to Admin > Activities > Activity categories
2. Add a new activity category

3. Optional: If you already create an article you can allocate it from the same page. Otherwise you can always allocate from the blog page.

Where can the customer read the blog posts for your shop?
Your blog posts will appear on your front page below your product selection.

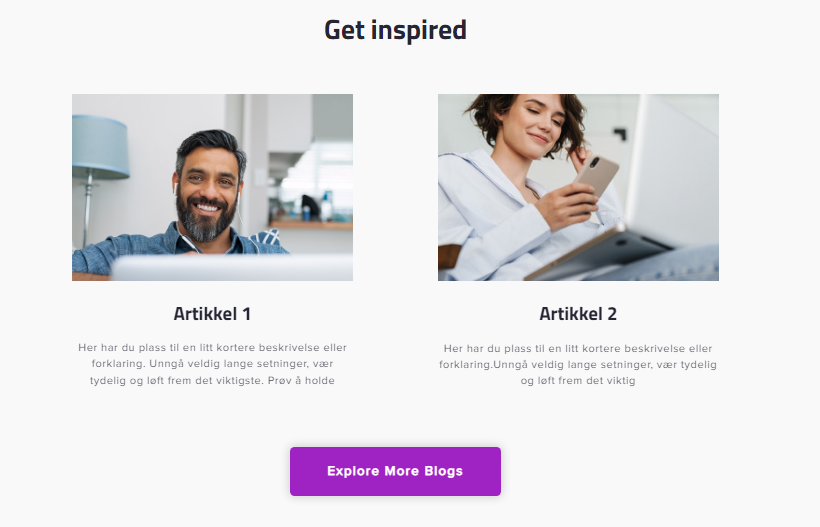
You can push the button explore more, to open the blog section.
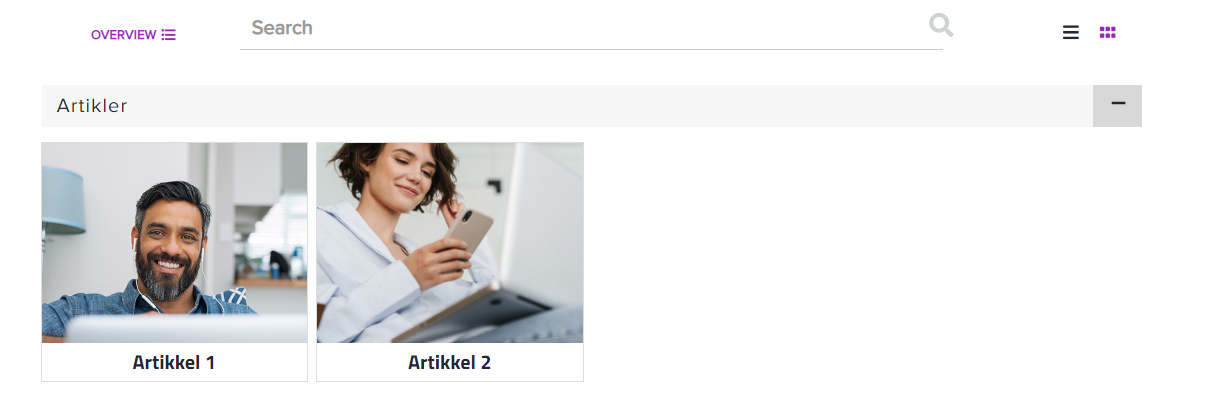
From the Explore Products (product list) page, the products can be filtered by blog (activity type) by your customers:
